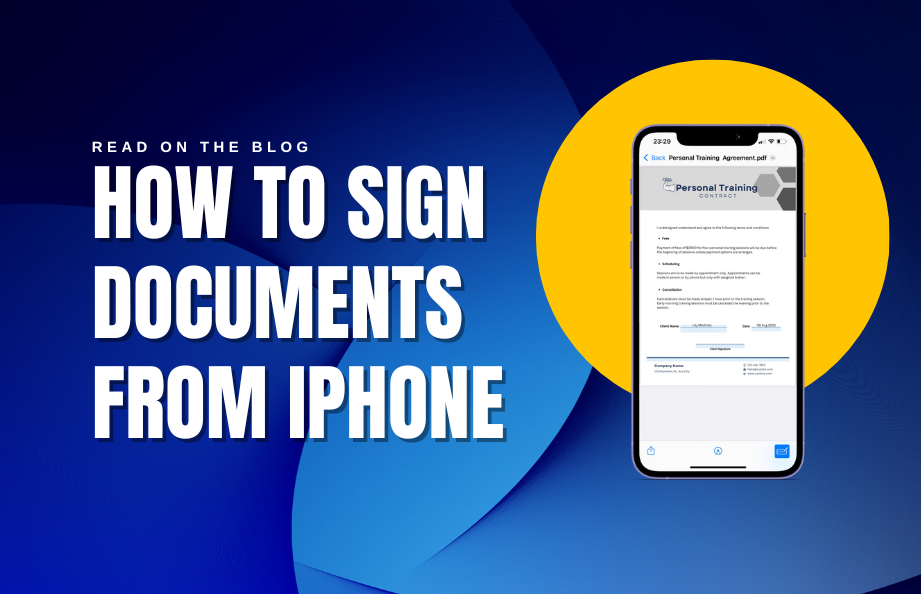
In today’s fast-paced digital world, the ability to sign documents from your iPhone can be a game-changer. Whether you’re a business professional on the go or simply looking for a more convenient way to handle paperwork, signing documents from your iPhone can save you time and effort. Let’s dive in. Discover how to sign documents on iPhone using simple, step-by-step methods, and effortlessly streamline your digital paperwork.
Step 1: Open the Document
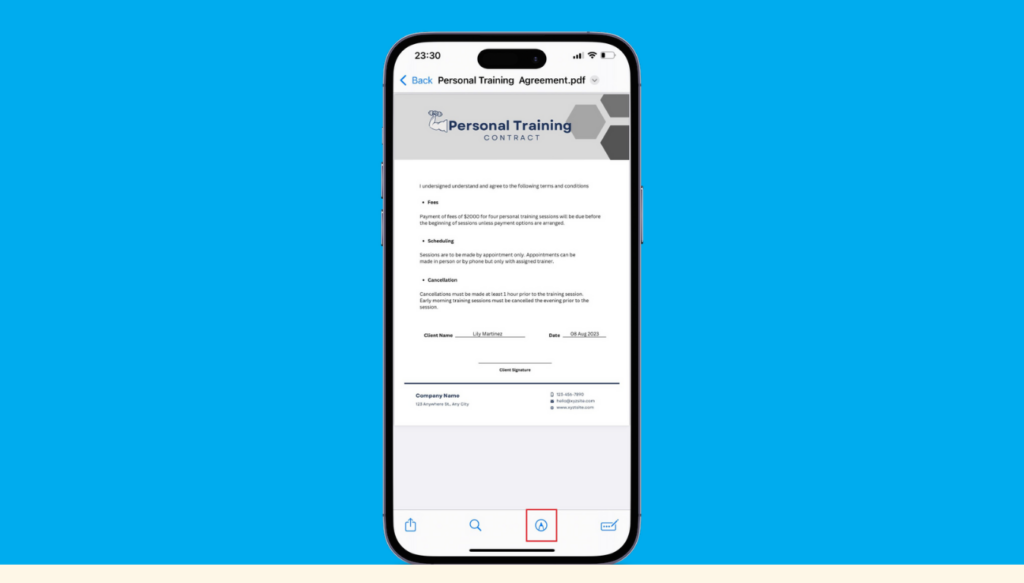
Begin by opening the document you need to sign on your iPhone. This document can be an email attachment, a file from your cloud storage, or something you’ve received through messaging apps like WhatsApp or iMessage. Simply locate the document you want to sign and tap to open it.
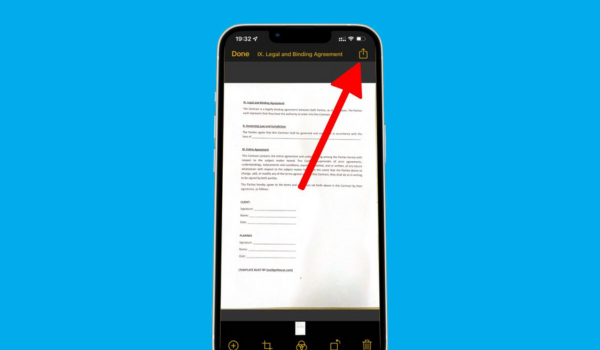
Step 2: Access the Markup Tools
Once the document is open, look for the Markup tools. These tools are typically represented by a pen icon or three dots, depending on the app you are using to view the document. Common apps include the Files app, Mail, and Apple’s native PDF viewer, Apple Books.
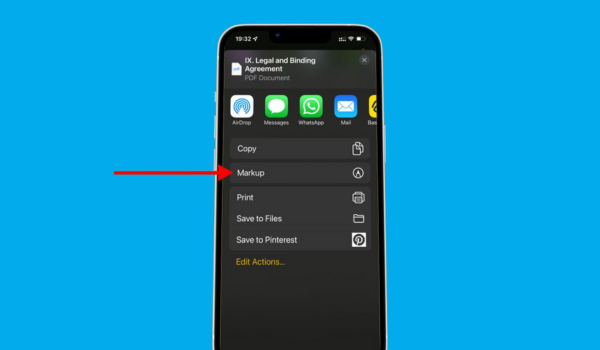
In Mail: If you’re opening an email attachment, tap on the attachment to view it, then tap the “Markup” icon (represented by a pen) in the upper-right corner.
In Files or Apple Books: While viewing the document, tap the three dots (…) in the upper-right corner and select “Markup” from the dropdown menu.
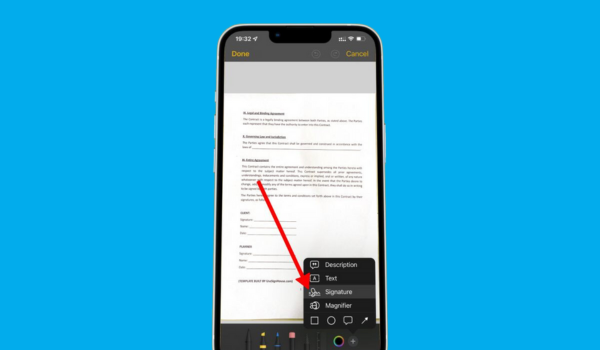
Step 3: Create Your Signature
Once you’ve accessed the Markup tools, you can start creating your digital signature. Here’s how:
Tap “Signature” or “Add Signature”. You’ll have the option to choose between “Add or Remove Signature.” Tap this option.
You can now create your signature by either drawing it with your finger directly on the screen or using a stylus for more precision.
Step 4: Place Your Signature
With your digital signature created, you can now place it in the document where it’s needed. Simply tap and drag your signature to the appropriate location within the document.
Step 5: Resize and Adjust
If your signature needs to be resized or repositioned, you can easily do so. Tap on your signature, and you’ll see handles that allow you to adjust the size. Drag your signature to move it to the desired location.
Step 6: Save or Share the Signed Document
Once you’ve placed your signature in the document and are satisfied with its placement, save or share the document as needed. The process of saving or sharing may vary depending on the app you’re using, but it typically involves tapping a “Done,” “Save,” or “Share” button.
This method is not only convenient but also ensures that your signed documents look professional and neat. Whether you’re signing contracts, agreements, or any other important paperwork, your iPhone makes it hassle-free.
Can you sign a Word document on your iPhone?
Signing a Word document on your iPhone is a breeze with the help of online apps like BunnyDoc. Here’s a step-by-step guide on how to sign a Word document on your iPhone using BunnyDoc:
- Open your preferred web browser on your iPhone and navigate to bunnydoc.com.
- On the BunnyDoc, you’ll see an option to upload your document. Tap on it, and you’ll be prompted to select the Word document you want to sign from your device. Once you’ve chosen the file, tap “Open” or “Upload.”
- After your document is uploaded, BunnyDoc will provide you with tools to sign it. You can either create a new digital signature or choose one you’ve previously saved. To create a new signature, tap on the “Create Signature” option and follow the on-screen instructions to draw your signature using your finger or a stylus.
- Once you have your signature ready, place it in the Word document where you’d like to sign. You can adjust the size and position of your signature to ensure it fits perfectly.
- When you’re satisfied with the document, tap the “Download” or “Save” option within BunnyDoc. Your signed Word document will be saved to your iPhone.
Your signed Word document will be available in your iPhone’s storage. You can access it from the location where you typically find downloaded files on your device. Depending on your settings, it might be in the “Downloads” folder or another designated location.
And that’s it! You’ve successfully signed a Word document on your iPhone using BunnyDoc. You can also sign PDF file(s) using BunnyDoc. This method offers the flexibility to sign documents on the go and ensures your documents are professionally signed and ready for use.