Are you looking for how to create signature in Gmail? In this article, we’ll guide you through the simple steps to create a signature in Gmail on different platforms, including Android, iPhone, and iPad, allowing you to leave a lasting impression on your recipients.
Tips for creating your signature
Here are some tips to consider when creating your signature:
Keep It Concise: Your signature should be brief and to the point. Include essential information like your name, title, and contact information.
Add Contact Information: Include your email address, phone number, and any relevant social media links or website URLs.
Professional Tone: Maintain a professional tone in your signature, as it represents you and your organization.
Branding: If applicable, include your company logo or a professional headshot to enhance your branding.
Consistency: Ensure that your email signature is consistent with your brand’s style and guidelines.
How Can I Add Signature in Gmail
How to create signature in Gmail on a desktop

1. Accessing Gmail Settings
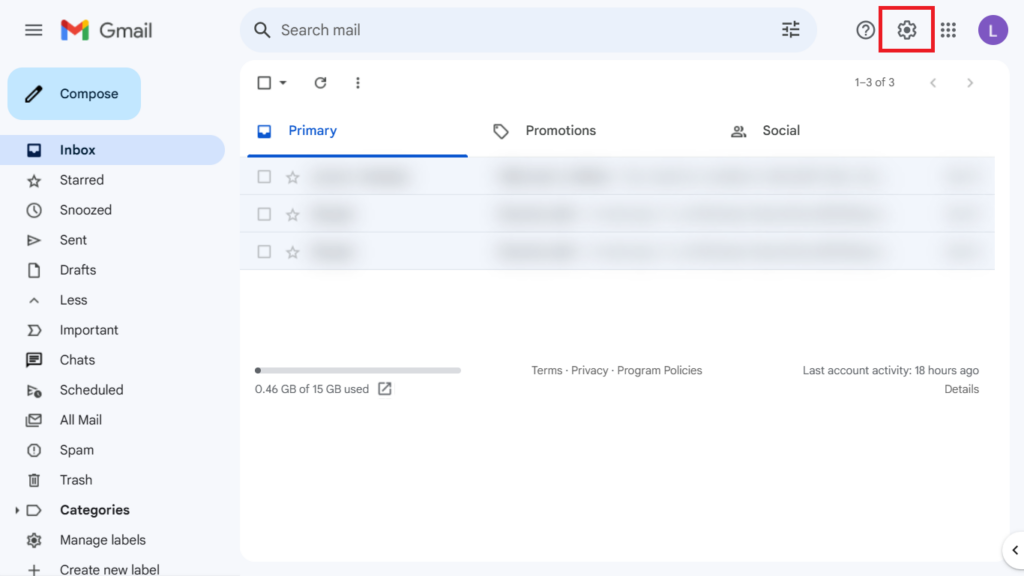
To begin, you’ll need to access your Gmail account. Log in with your email and password. Once you’re in, locate the gear icon in the upper right-hand corner of the screen. This icon represents the “Settings” menu. Click on it to proceed.
2. Navigate to “See all settings”
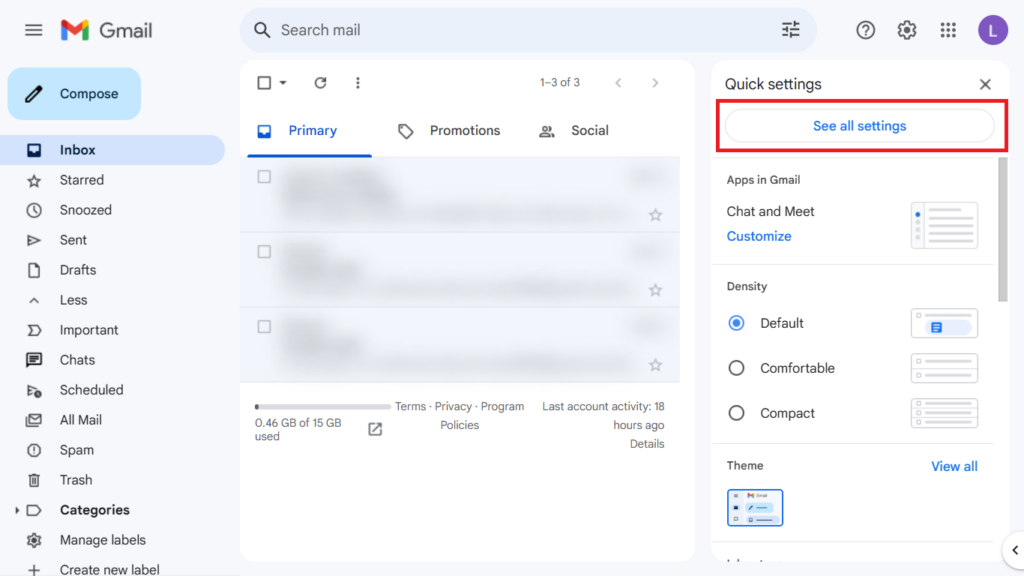
Within the Settings menu, you’ll see a list of options. Click on “See all settings” to access the full range of Gmail customization options.
3. Scroll Down to the Signature Section
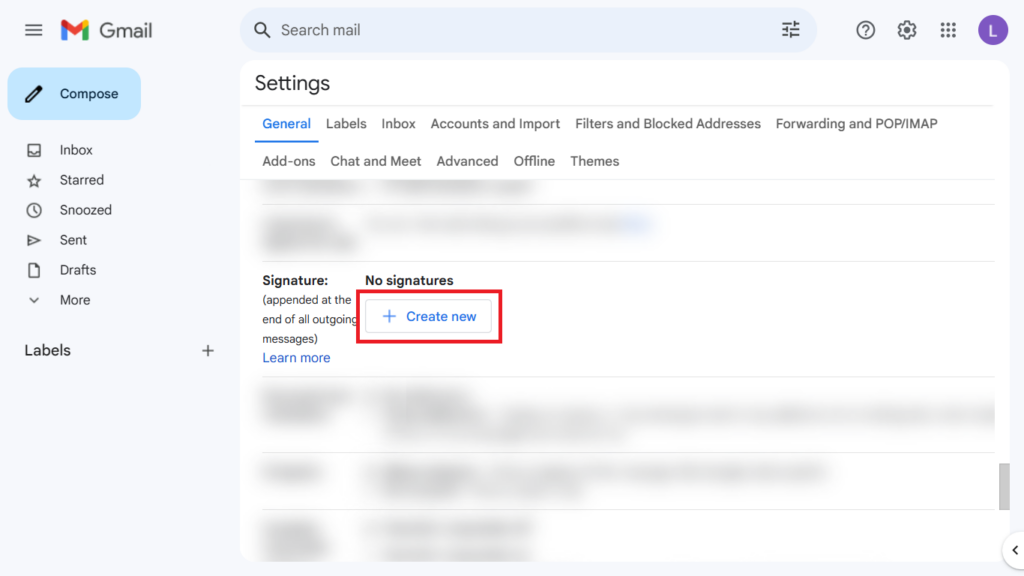
Scroll down until you see the “Signature” section. This is where you can create and edit your email signature.
4. Enable the Signature: In this section, you can choose to either turn on the signature by selecting “Create new” or edit an existing one if you’ve already created one in the past.
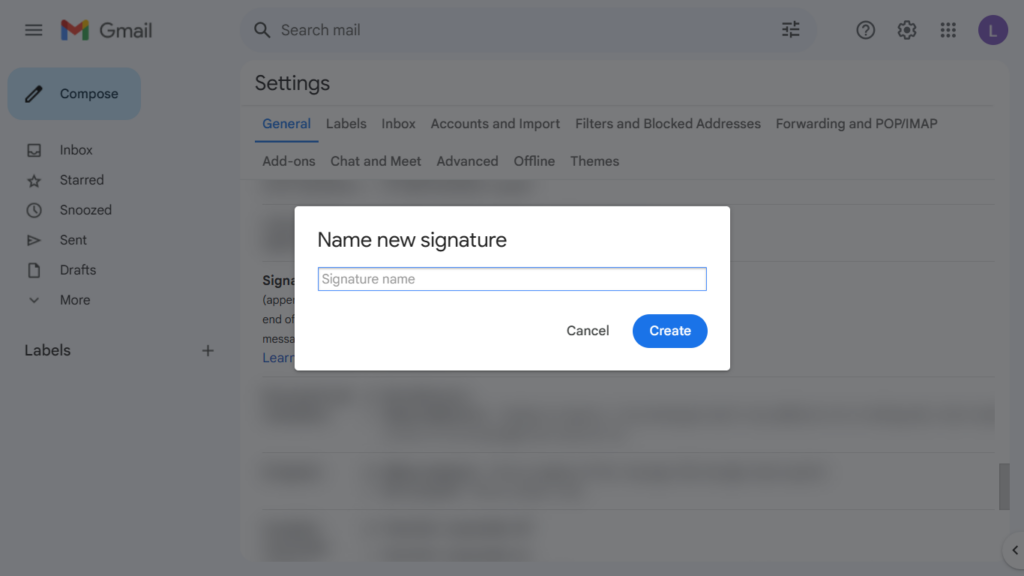
5. Create Signature Name: First, you have to create your signature name.
6. Creating Your Signature
In the Signature section, you can compose your email signature using the text box provided. You can use the text editor to format your signature, including changing fonts, colours, and sizes.

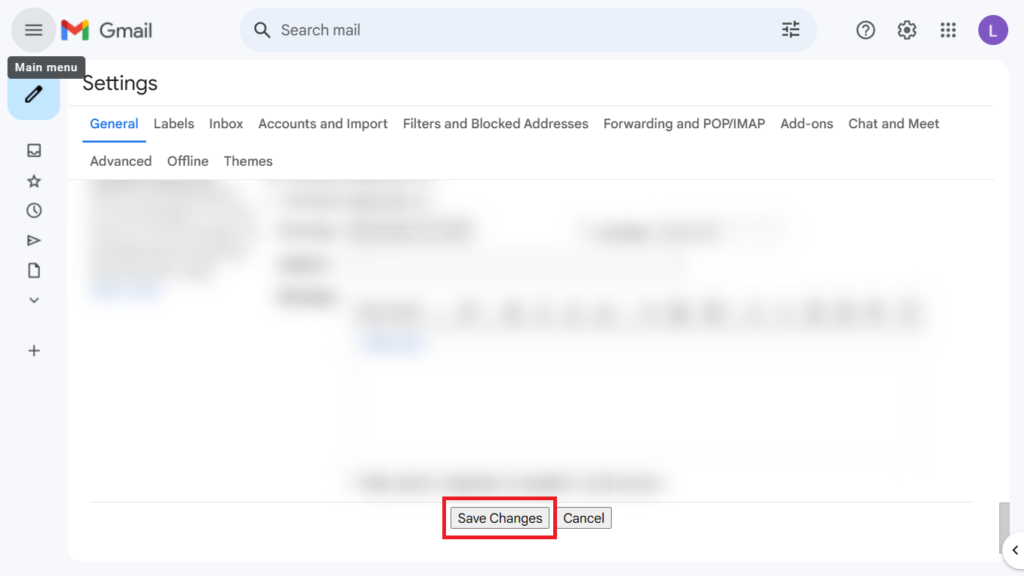
7. Activate Your Signature
After crafting your signature, don’t forget to scroll down and click the “Save Changes” button at the bottom of the page. This will activate your newly created signature.
8. Composing Emails with Your Signature
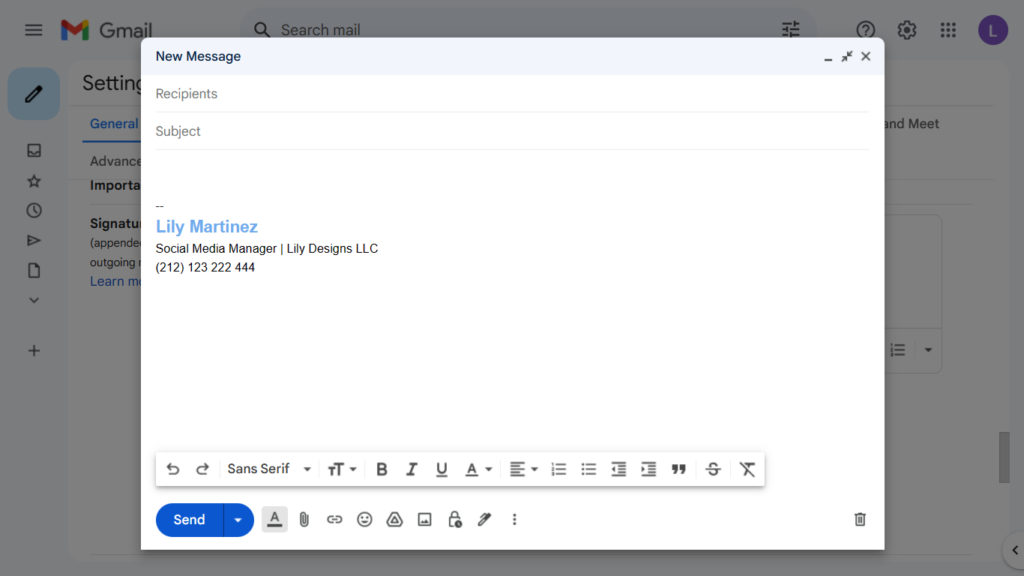
From now on, every time you compose a new email or reply to an existing one, your signature will be automatically added at the end of your message. You can also choose to disable your signature for specific emails by clicking on the pen icon in the lower-right corner of the email composition window.
How to create a Signature in Gmail on Android
- Open the Gmail app on your Android device.
- Tap the three horizontal lines in the upper-left corner to open the menu.
- Scroll down and tap “Settings.”
- Select your Gmail account.
- Tap “Signature settings.”
- Enter your desired signature text.
- Tap “Save” to activate your signature.
How to create a Signature in Gmail on iPhone & iPad
- Open the Gmail app on your iPhone or iPad.
- Tap the menu icon in the upper-left corner.
- Scroll down and tap “Settings.”
- Select your Gmail account.
- Tap “Signature.”
- Enter your desired signature text.
- Tap the back arrow to save your signature.
Conclusion
Creating a signature in Gmail is a simple yet effective way to make your emails more professional and personalized, whether you’re using Gmail on a desktop, Android, iPhone, or iPad. By following the steps outlined in this article, you can craft a signature that represents you and your organization in the best possible way. Remember to keep it concise, professional, and consistent with your branding.