Scanning documents to an email is critical as it facilitates seamless information sharing, enhances accessibility, and promotes eco-friendly practices. This process enables efficient digital archiving and simplifies document retrieval, fostering streamlined collaboration and reducing physical storage requirements. Whether you’re using a Windows computer, a Mac, or an Android device, scanning a document and sending it via email has become simpler and more convenient than ever. In this guide, we’ll walk you through the steps on how to scan documents to an email on different platforms.
- Connect Your Scanner or Printer
- Place the document in the scanner.
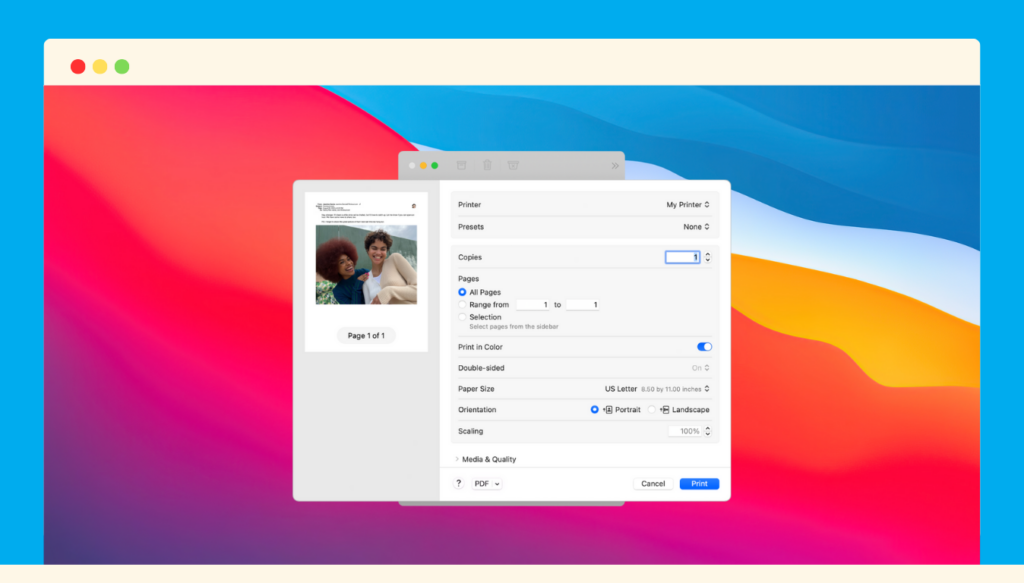
- Open “System Preferences”, then go to “Printers & Scanners.”
- Preview the scan to verify it looks correct, then click “Scan.”
How to scan documents to email on Windows
- Connect Your Scanner or Printer: First, ensure that your scanner or multifunction printer is connected to your Windows computer and properly installed. You may need to install drivers or software that comes with your device.
- Place the Document: Open the scanner’s lid and place the document you want to scan face down on the scanner bed.
- Use Windows Scan: Launch “Windows Scan,” the built-in scanning software in Windows. You can typically find it by searching in the Start menu.
- Configure Scanning Settings: Depending on your needs, adjust settings like colour, resolution, and file format. For standard documents, a PDF format at 300 dpi is often a good choice.
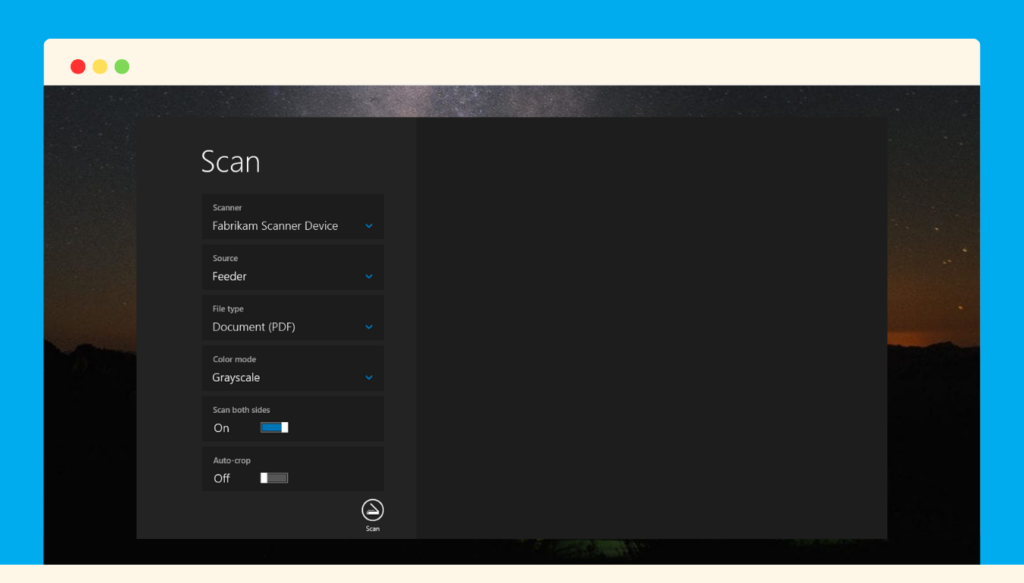
- Preview and Scan: Preview the scan to ensure it looks correct, and then click the “Scan” button. The scanner will capture the image or text and save it as a file on your computer.
- Compose an Email: Open your preferred email client, like Gmail, Outlook or Windows Mail.
- Attach the Scanned Document: Create a new email and click on the attachment icon. Navigate to the location where your scanned document is saved and select it.
- Send the Email: Complete the email with the recipient’s address, subject, and message, and then click the “Send” button.
How to scan documents to email on macOS
- Connect Your Scanner or Printer: Ensure your scanner or printer is connected and recognized by your Mac. macOS often includes built-in drivers for common devices.
- Prepare the Document: Place the document face down on the scanner bed.
- Use System Settings: Open “System Preferences” on your Mac, then go to “Printers & Scanners.”
- Select Your Scanner: In the Printers & Scanners menu, select your scanner or multifunction printer.
- Configure Scanning Settings: Click on the “Open Scanner” button or a similar option depending on your device. Configure settings like colour, resolution, and file format.
- Preview and Scan: Preview the scan to verify it looks correct, then click “Scan.” The scanned document will appear in a new window.
- Attach the Scanned Document: Create a new email in your preferred email client, such as Apple Mail. Click the attachment icon and select the scanned document.
- Send the Email: Add the recipient’s email address, subject, and message. Finally, click “Send” to email the document.
How to scan a document to email on Android Devices
- Use a Scanning App: Android devices often come with pre-installed scanning apps, like Google Drive or Google Photos. Open your preferred scanning app.
- Capture the Document: Place the document you want to scan in good lighting and tap the camera icon within the app.
- Align and Capture: Align the document within the camera viewfinder and tap the capture button. Some apps may allow you to take multiple pages.
- Review and Save: Review the scanned document, crop if necessary, and save it.
- Compose an Email: Open your email app, such as Gmail.
- Attach the Scanned Document: Compose a new email, click the attachment icon, and select the scanned document from your gallery.
- Send the Email: Add the recipient’s email address, subject, and message, and then send the email with the attached document.
Scanning and emailing documents has never been easier on various platforms. Whether you’re using Windows, Mac, or Android, following these steps will help you quickly scan and send documents via email, making your document-sharing tasks efficient and convenient.